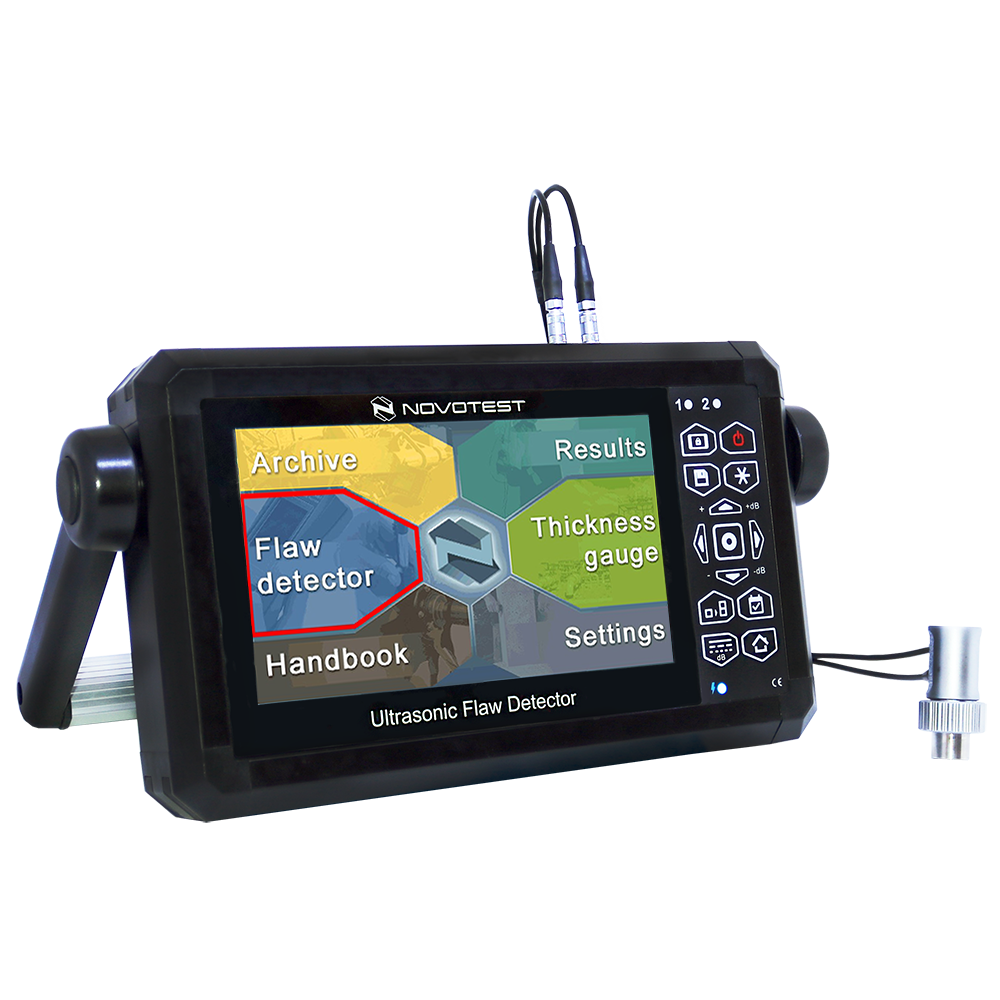
NOVOTEST UD3701 超声波探伤仪 (1~10MHz)
制造商: NOVOTEST Model: UD3701 - 联系
Operating frequency range: from 1 to 10,0 MHz
Range of measured time intervals (duration of scanning): from 6 to 1000 µs
Velocity range: 1000 – 9999 m / s
Error of measurement of time intervals: not exceed ± 0,025 µs
Maximum permissible error of measurement of the amplitudes of the signals at the receiver input in the range from 0 to 110 dB: not exceed ± 0,5 dB
Testing gain range: 125 dB
Range of variation of temporal sensitivity adjustment (TVG): 40 dB
Number of control points TVG: 16
Duration of the excitation pulse to the load: from 0,0 to 0,5 µs
Deviation of the amplitudes of input signals in the range from 10 to 100% of the screen height not more than: 1 dB
Setting a delay in the prism of the probe: from 0 to 15 µs
Detection of signals: positive half-wave, radio mode
Measurement units: mm; μs (or inch by request)
Operating modes:
- Thickness gauge
- Flaw detector: Basic; DAC; TVG; DGS; DTC; AWS (by request)
Menu language: English; Russian; Turkish (by request); Japanese (by request)
*additional languages available by request
Standards: EN 12668; ASTM E1324; EN 55011; EN61000-6-2:2001; EN 61010-1:2014 (EN 61010-1:2010); EN 60529:2014; EN ISO 16810:2016; SOU NNEC 027:2014; SOU NNEC 032:2014; SOU NNEC 038:2017
Dimensions (W*H*L): 140 mm x 210 mm x 55 mm
Weight, not more: 1,5 kg
Package:
- Weight, not more – 4,5kg
- Dimensions – 40*25*9cm
Description:
- The Ultrasonic Flaw Detector NOVOTEST UD3701 is designed to detect internal defects, such as discontinuities and heterogeneities of materials in products and welds, determine coordinates and evaluate defect parameters, measure thickness and the velocity of propagation and attenuation of ultrasonic waves in the materials (metals, plastics, glass and etc.), the search for places of corrosion, cracks, internal delamination and other defects.
- Ultrasonic Flaw Detector NOVOTEST UD3701 is a universal, powerful, functional, ergonomic and reliable device for solving tasks of ultrasonic flaw detection both in the laboratory and in the field.
The main advantages:
- Superbright, touch display with which it is comfortable to work outdoors on a sunny day;
- Automatic calculation of the delay in the probe;
- Frequency range from 0 to 10 MHz, with smooth adjustment;
- Display of a scale of scanning in microseconds and millimeters;
- The presence in the device of the operating mode of the DAC and TVG curves (up to 16 points);
- The presence in the flaw detector of the DGS control mode, with automatic calculation of the equivalent reflector zone;
- Carrying out settings both using the touch screen and by keyboard;
- The presence of movable blocks of output of measured values, so it can be located in any part of the A-scan;
- Archive of measurements, settings, probes with the ability to transfer data to a PC;
- Simulation of a measurement from a stored record in the device memory.
Datasheet
VIDEO
- 质量承诺
- 正品保修
- 送货到家
- 交易简单化
